Radiology for the USMLE: A Stepwise Approach
- by
- Feb 20, 2018
- Reviewed by: Amy Rontal, MD

Imaging on the boards can be daunting for many test takers. Many students get scared at first sight of an image and don’t even bother breaking it down. Here I offer a stepwise approach to breaking down radiology images for the boards that works almost every time:
1. Recognize the study type
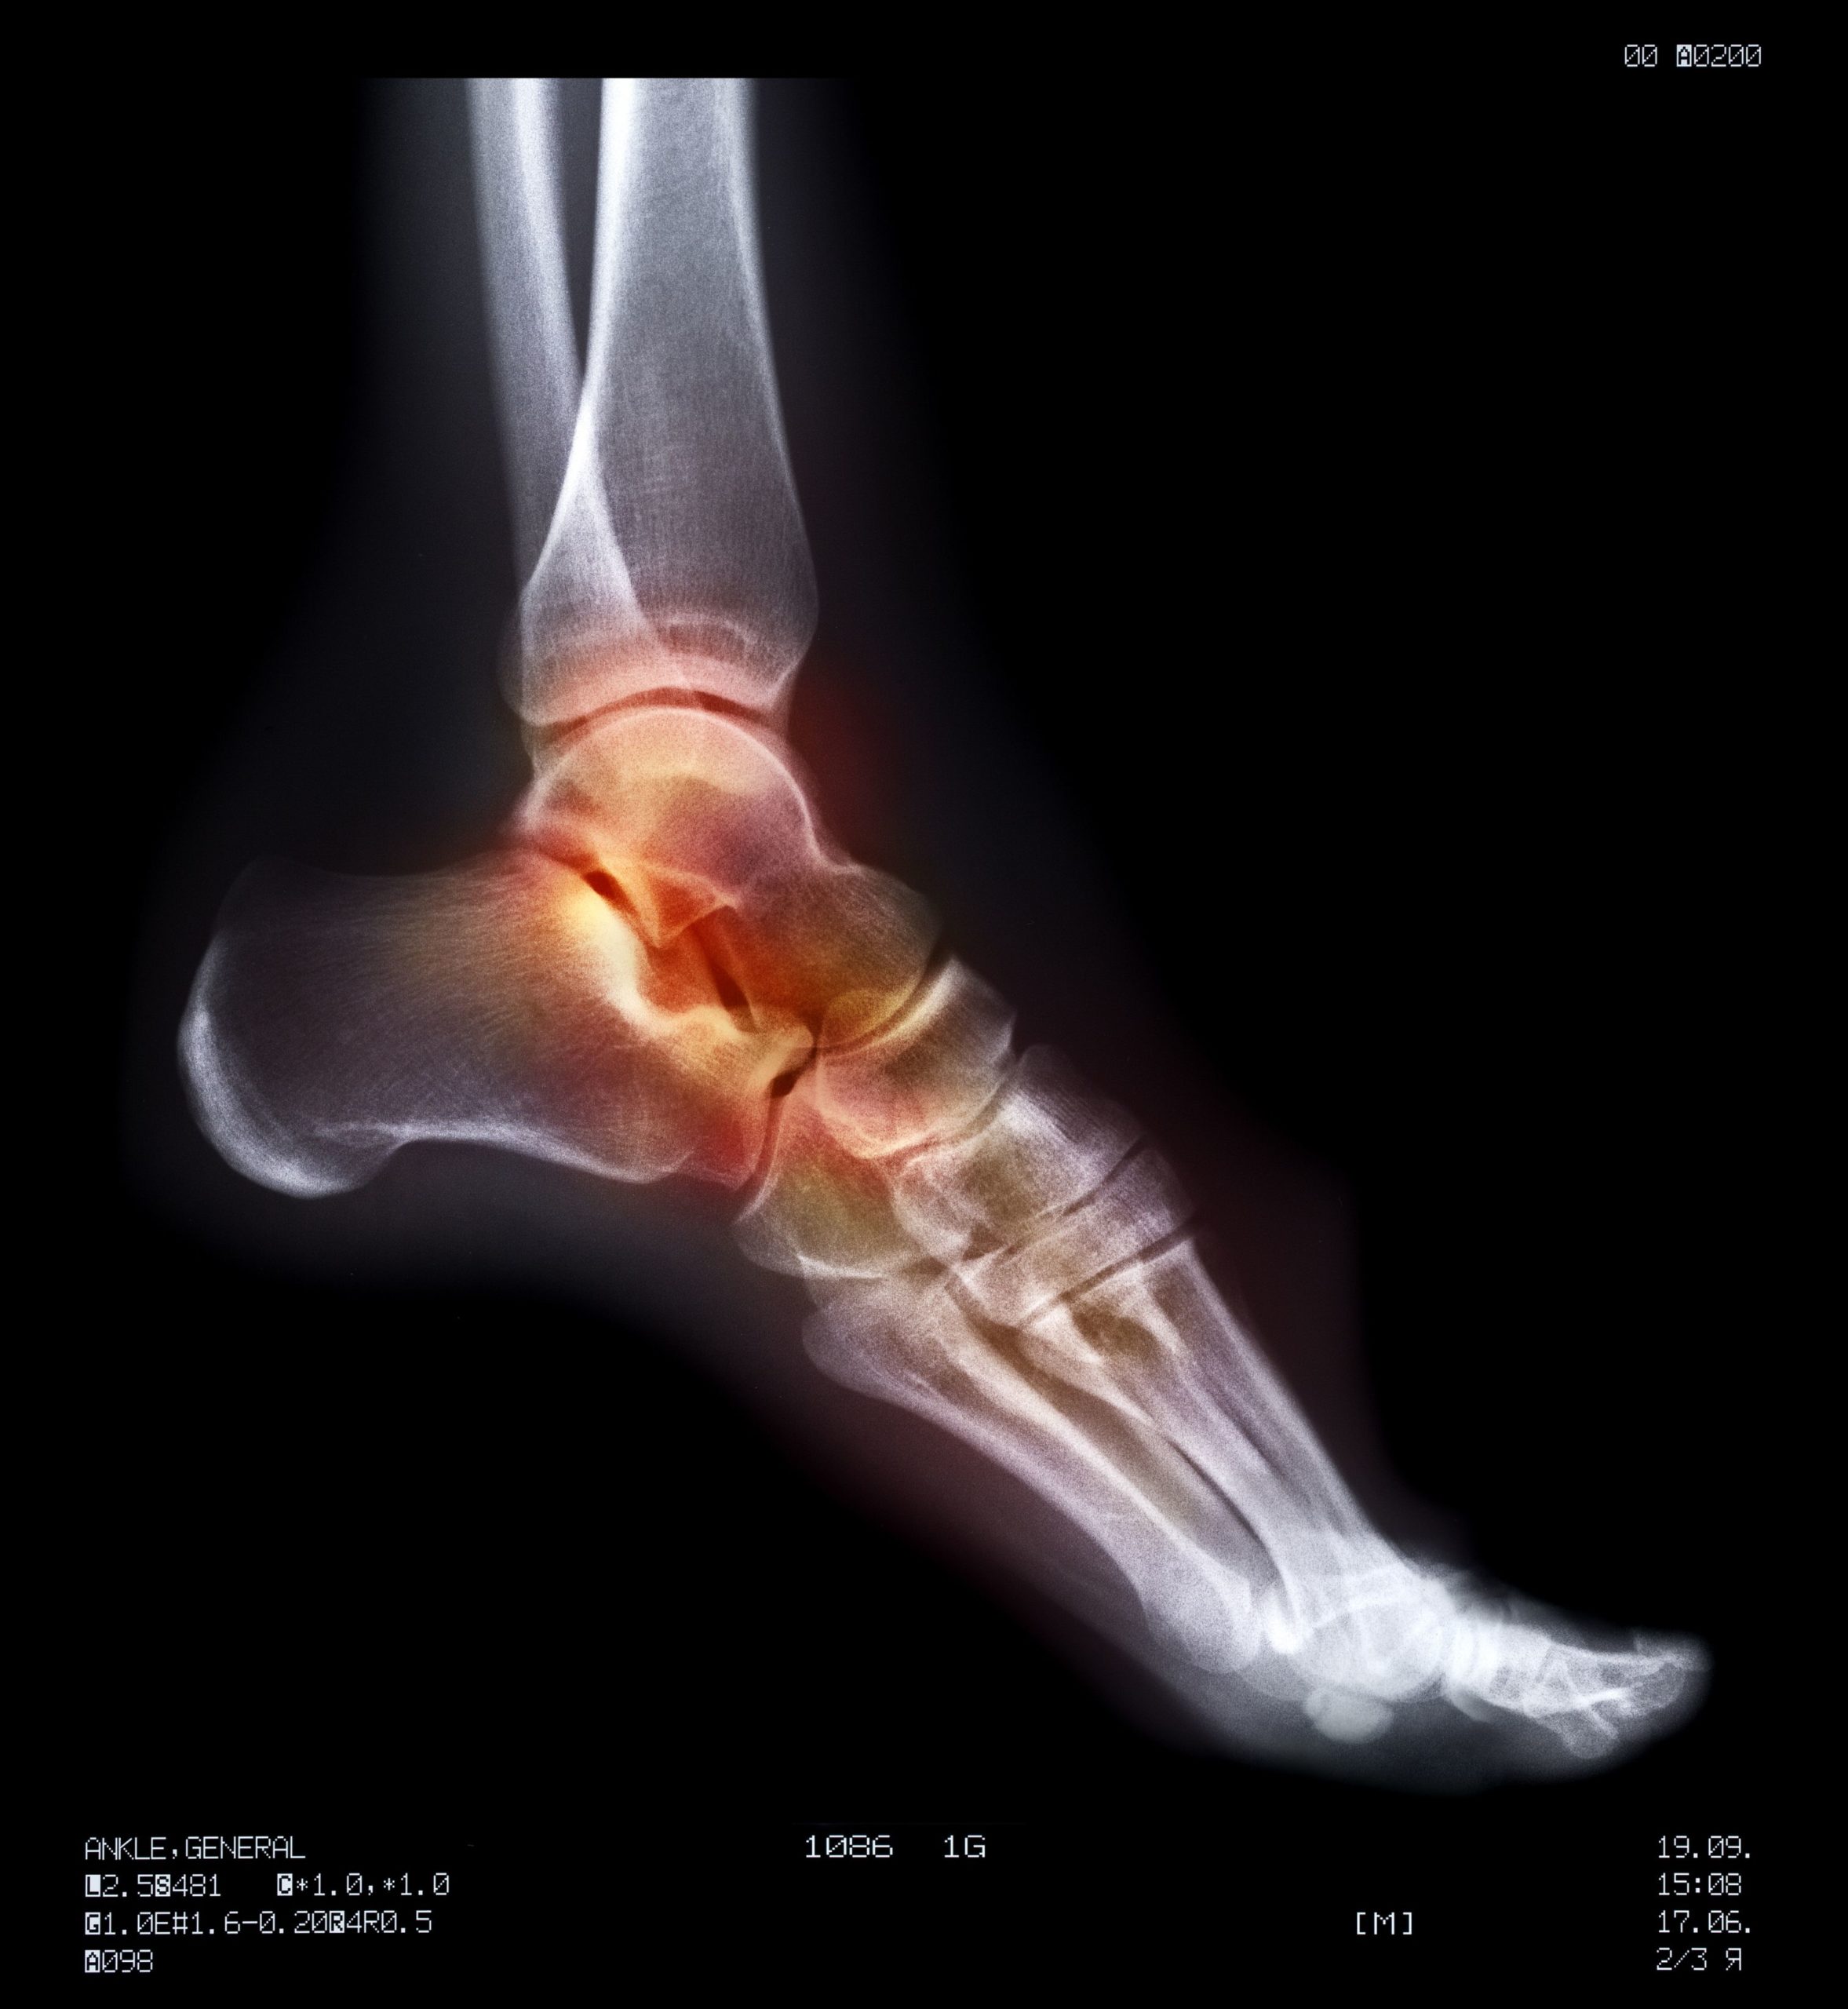
Just take a quick glance at the image to recognize which modality (X-ray, ultrasound, CT, etc) and which body part being imaged. This will allow you to begin to think in the right shades of gray. As in, dark gray on a X-ray is not necessarily the same as dark gray on an MRI. The other reason why modality is important is that it allows you to get an idea of why they ordered the study. As in, an MRI of the brain is much better at characterizing brain tumors than CT, and a CT of the brain is much better at seeing blood than an MRI.
2. Get your bearings
Identify some normal anatomy so you know exactly where in the body you are looking at. This may be quite obvious, as in with something like a chest X-ray, or it may be more difficult, as it is with cross sectional imaging. With cross sectional imaging take a look at the normal structures you see to get an idea of what level you are at. For example, if you see the liver you know that you are somewhere in the superior portion of the abdomen. As an important reminder, a general rule in radiology is that the right side of the image as you are looking at it is actually the left side of the body.
3. Spot the obvious abnormality
This is the easy part. Once you have your bearings and have convinced yourself of what is normal, then the abnormality they are trying to have you see will be obvious. They are not going to give you a normal study, there is going to be something blatantly abnormal. This finding usually stands out right away, as with a giant tumor for example, and it is your job to localize what structure is it emanating from. There are no subtle radiological findings on the boards, if they are going to show you a pneumothorax, it’s going to be giant.
4. Use the findings to help answer the question
Now that you have spotted the abnormality you have to synthesize the information into the rest of the nuggets of gold you have already mined from the vignette. I suggest treating your imaging diagnosis as another piece you can use to solve the puzzle. It also helps to recognize imaging finding patterns and how they relate to disease. For example, if on a chest X-ray you see cloudy “white stuff” on both sides of the chest versus in just one lobe your differential changes drastically. But it’s that simple, your job is to spot the obvious, the “white stuff”, and to determine where it’s located. Then apply that to the clinical context of the vignette and you should have your diagnosis.
Here’s a practical example for an abdominal CT image:
Case courtesy of Dr Ahmed Abd Rabou, Radiopaedia.org, rID: 33014
- Recognize this is a CT of the abdomen.
- Get your bearings, recognize you are at the level of both kidneys about midway down the abdomen.
- Recognize that in one kidney there is a giant mass which distorts the kidney’s normal architecture and that the other kidney looks normal.
- From the imaging findings you know the patient has a kidney mass and say for instance from the vignette you may have learned earlier that the patient has polycythemia and hematuria. Could this be a renal cell carcinoma?
This all being said, there are times when the image presented on the boards isn’t even necessary to answer the question. Many times the given information in the vignette is enough to formulate your diagnosis and pick the right answer.
So fear not! Stick to my outlined approach above and use the rest of the question vignette as your guide, then you will grow to use imaging questions to your advantage.


